CF FILM 2022 Pack - 2 Desktop Lightroom Presets

CF FILM 2022 Pack - 2 Desktop Lightroom Presets
(2 presets)
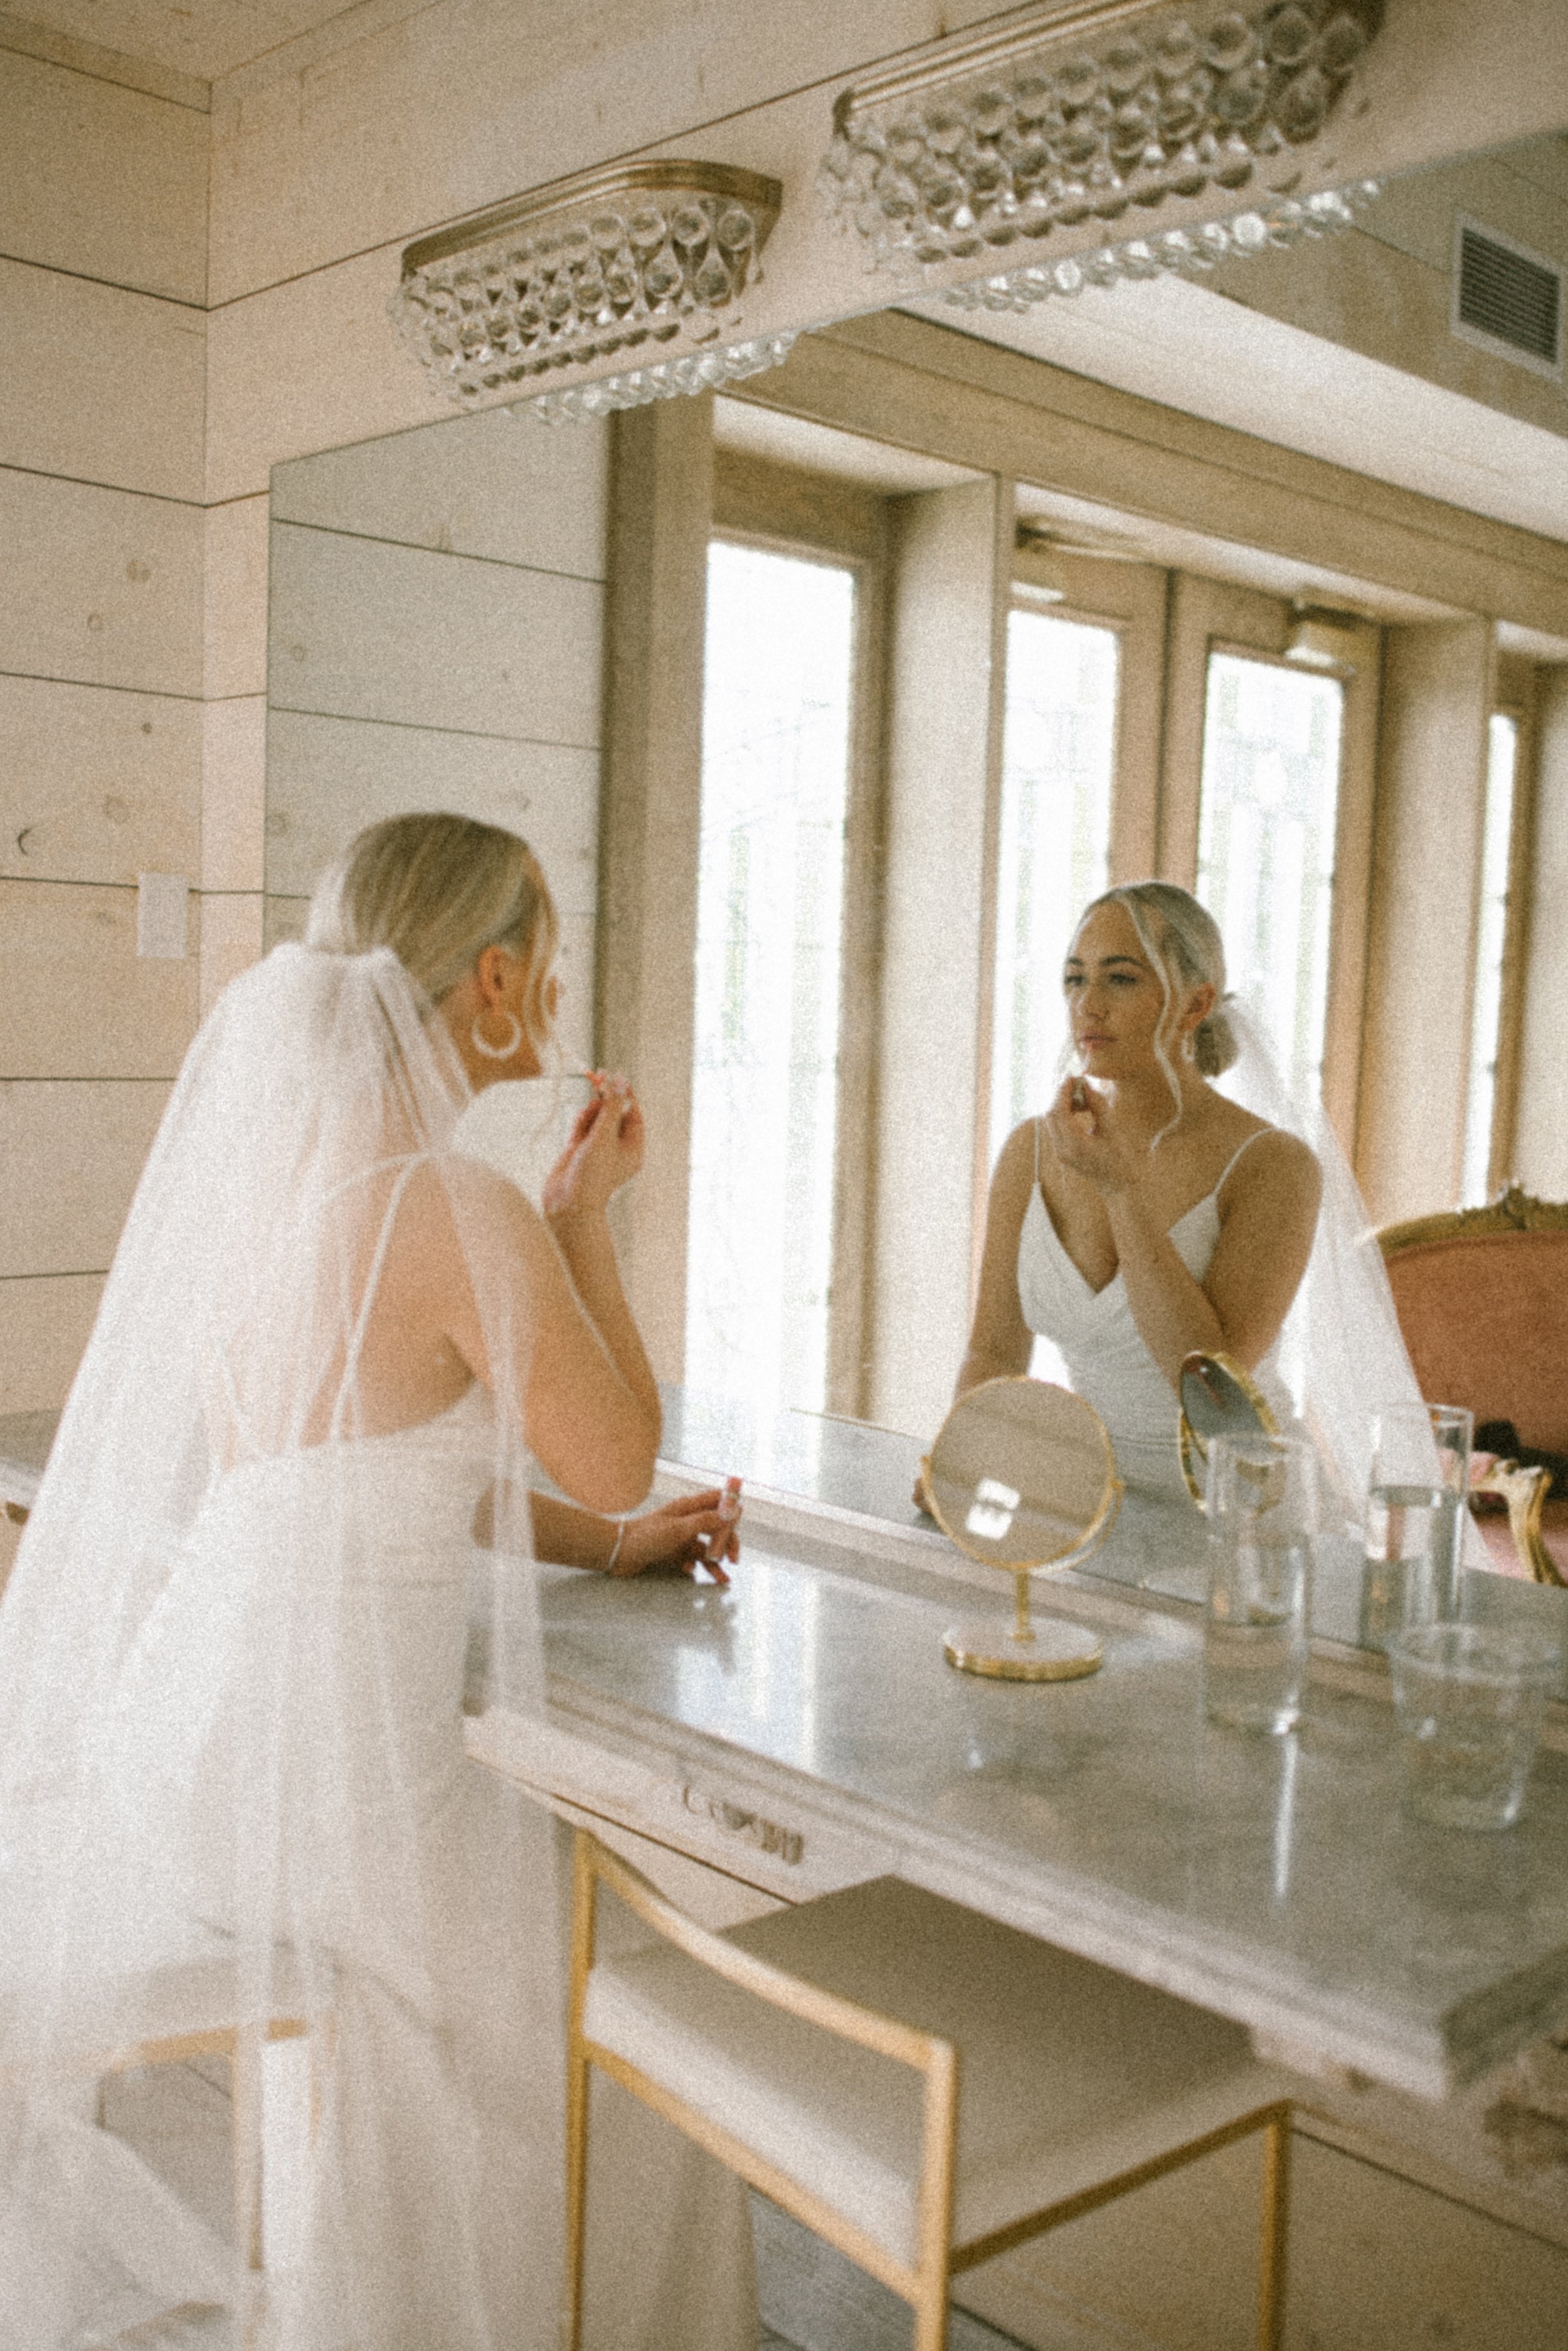
Hi Friends! I am so beyond stoked to share this film preset with you! For years, I’ve been obsessed with being able to turn my work into film or get it as close as possible. With these presets, I feel i’ve gotten that much closer - and so can you! This pack comes with 2 presets. I just had to include both because every shoot, wedding, etc has different lighting and these two compliment each other by having the same foundations but help with different lightings to achieve the film look!
Now let me let you in on the key TIPS of adjusting these presets to fit anything your shooting, you’ll want to focus on your: Temp and tint, exposure, color(HSL), color grading (specifically the highlights), and grain!
Alright, i’m going to break down each thing that i do in hopes this will also help you!
Temp and tint is pretty straight forward. If your session was super warm/yellow, bring back in the blues with your temp. Then with your tint, your going to decide if your more of the “I want more pinks in my photo” type person, or want more greens in your photo type of person. If you notice, film has deep layers of either pinks or greens depending on the film you use. Have fun with it, and achieve that look your wanting!
Exposure is super easy! Either go brighter for a more classical film vibe, stay in the middle for more of a natural vibe, or go a little darker for a more moody + sexy film.
Color(HSL) - this is where i make things happen in my images. I have a super clean and white vibe about my images so i’ll take out or minimize colors to make my whites clean or the overall image feel like it’s a whole. With this, the key components to focus on are your oranges, yellows, and greens. Oranges are for those skin tones baby! We don’t want any oompa-loompa’s, unless thats your vibe - then thats cool! haha but personally, it’s not my jam. Alright, onto the yellows. Yellows is what i’ve found just adds or takes away to the image. This is where you’ll “bring back life” into the image if it’s to cold or to warm. Sounds like you should’ve done that with temp right? Nah, temp is for the overall image color and yellow will focus on bring back life into the greenery, skin, hair, etc. Next, the green color hue. This one is super simple, but it brings back the greens. With film for me, it’s more of a natural vibe - but like better!
Color grading (the highlights). If you notice, I have a sneaky way of bringing those whites to the front of my image. Once I found this trick, it was freaking amazing for my work. You can adjust this to make the whites more white, or bring back the natural tones of the image. I usually stay within 10-20 range of saturation. Ah, I should mention, i don’t change the hue it’s self, I only change the saturation. Changing the hue will change the overall color we are bringing into the highlights - unless you want a different color, then thats cool too!
Lasssst topic is the grain. Just adjust the size or amount to make sure it’s not overkill and you can still see peoples faces. In each image I have to adjust it.
Boom! And there you have it, a ton of info about editing that I hope helped. If not, just pretend it did because i’m a sensitive soul. haha
Last thing I’ll leave you guys with is a HUGE thank you for buying and here’s how to import them into the latest version of lightroom:
download preset
open lightroom
top left corner click lightroom classic and click preferences
go to presets
click show lightroom develop presets
click settings
copy and paste the presets in the settings folder
close out of lightroom
open it back up
and under presets they should be there! (if they aren’t, please youtube! sometimes older lightroom’s have a different way of doing it)
You guys are rad! Thank you again! Have so much fun!!
There is no refunds given out. All sales are final.